
We can never find the perfect textured paper.... atleast I can't without driving to Timbucktu or placing a huge order from somewhere for quantities I don't need.
Well today you will be learning about adding texture to your own cardstock. This is so simple, you'll wonder why I thought of it first .... remember I'm just a dumb blonde! LOL! Okay, everyone take ther seat ... class is in session.....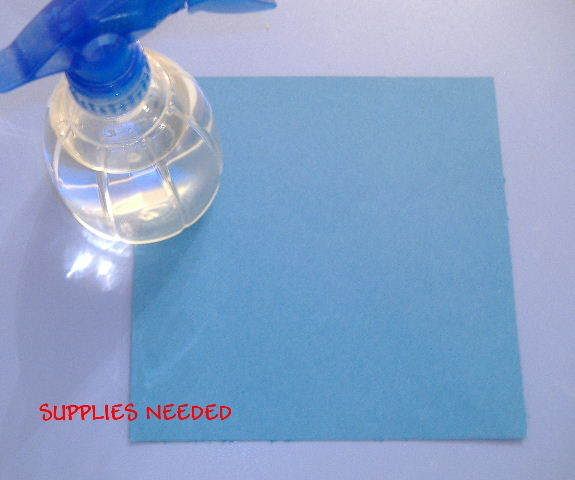
Supply List
Misting Bottle filled with water
Cardstock (your choice of color)
Rolling Pin (optional)
Cats Eye Fluid Chalk (Optional)
Iron (Optional)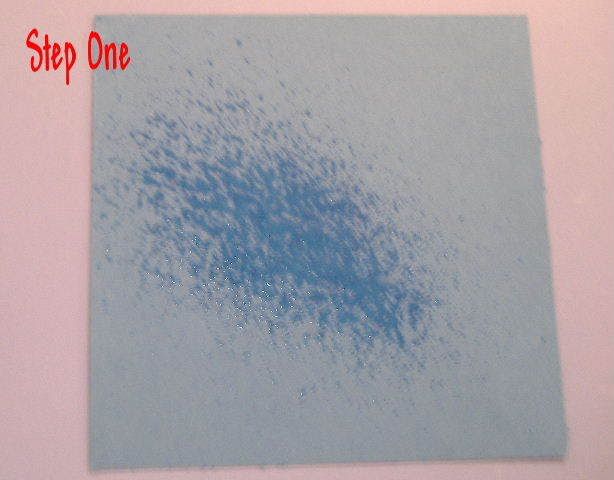 Step One
Place your cardstock on a waterproof work surface, and lightly cover one side of cardstock with water - do not saturate. Note: Some cardstocks will bleed their color, test paper first to make sure that this will not occur.
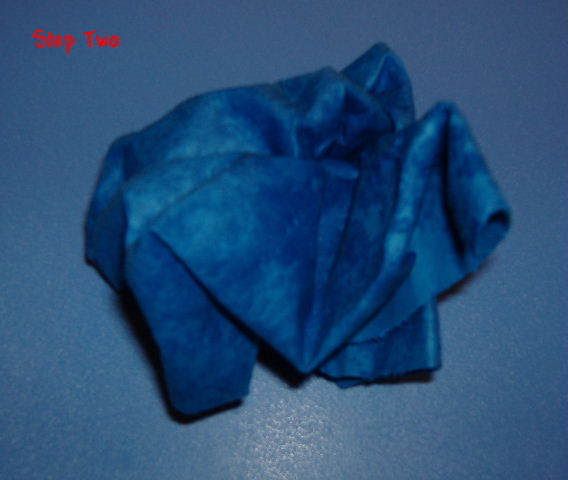
Gently crunch cardstock into a ball. Unfold carefully and repeat crunching process several times. Avoid tearing your cardstock as you work.

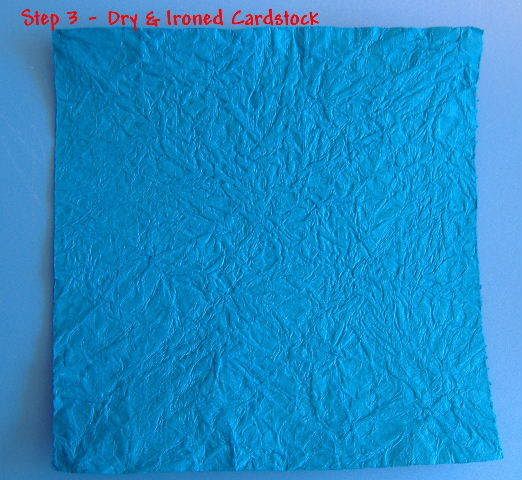
Step Three
After you have reached the desired texture, flatten paper down with rolling pin (or hands) and allow to dry. I allowed mine to dry overnight.
<----FINISHED CARDSTOCK FLATTENED, STILL MOIST
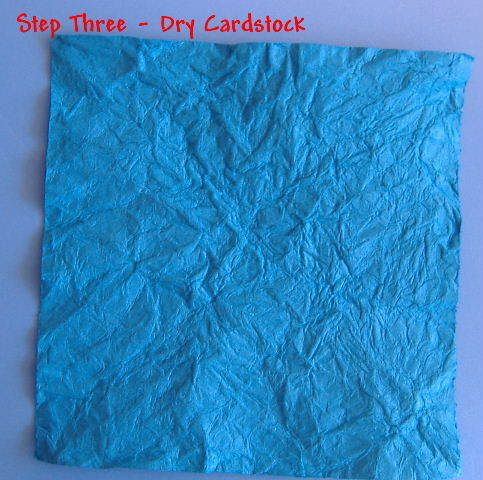
<------FINISHED CARDSTOCK DRY
One Step Further:
If you're in a hurry or you want a slightly different look, you can lightly iron the paper. The texture will remain. Additionally, you can also use your cats eye fluid chalks across the ridges in your paper leather just before ironing it.


1 comments:
very cool ! Thanks for the link !
Post a Comment