.

Create your own banner at mybannermaker.com!
Showing posts with label how to. Show all posts

Friday, November 28, 2008

Scent-sational Cards!

I'm long overdue for another technique. This is another one where you will think that I have flipped my lid, but if you're on a budget ... you can make this one work for you!

I promise it works and the end results can be quite 'scent'- sational and fun and a lot less costly than buying those scented embossing powders. Give it a shot ... what do you have to lose except a little time and a little bit of supplies.

Basic Supplies List
VersaMark Embossing Pad (or other embossing pad)
Ultra Thick Embossing Enamel (UTEE)
Stiff Patterned Paper
Heat Gun
Coffee Grinds, Unused of course!


Step One

Make a tag out of patterned paper that is slightly larger than your embossing pad.
Press embossing pad against tag and wiggle it around to make an imperfect rectangle.


Step Two

Take 50/50 mixture of UTEE and dry coffee grounds and mix in a bag.
Insert tag and do the mixture to cover embossing ink completely. Shake off excess.


Step Three Apply heat to melt the mixture. Here I used my coffee pot's warming pad. I used this because I didn't want a heat gun to bow mixture off of the tag. If you do not wish to use your coffee pot in this fashion, apply heat gun from the UNDERSIDE of tag. The embossed tag is finished.


Here is the card that I taught at my LSS using this technique.


Have fun and go make some Scent-sational Creations!
Friday, July 18, 2008

How to Make Paper Leather

We can never find the perfect textured paper.... atleast I can't without driving to Timbucktu or placing a huge order from somewhere for quantities I don't need.


Well today you will be learning about adding texture to your own cardstock. This is so simple, you'll wonder why I thought of it first .... remember I'm just a dumb blonde! LOL! Okay, everyone take ther seat ... class is in session.....


Supply List

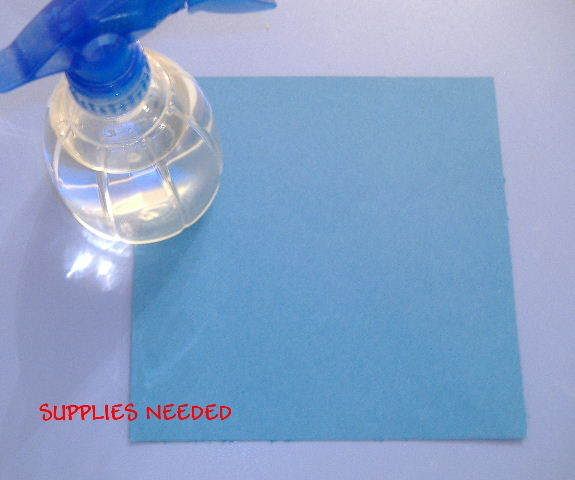
Misting Bottle filled with water
Cardstock (your choice of color)
Rolling Pin (optional)
Cats Eye Fluid Chalk (Optional)
Iron (Optional)


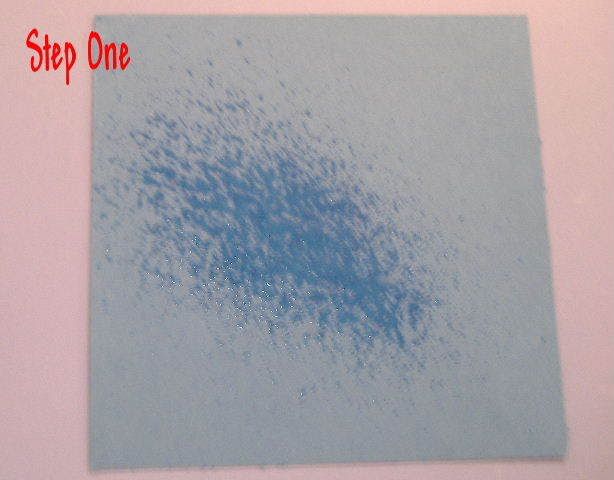
Step One

Place your cardstock on a waterproof work surface, and lightly cover one side of cardstock with water - do not saturate. Note: Some cardstocks will bleed their color, test paper first to make sure that this will not occur.


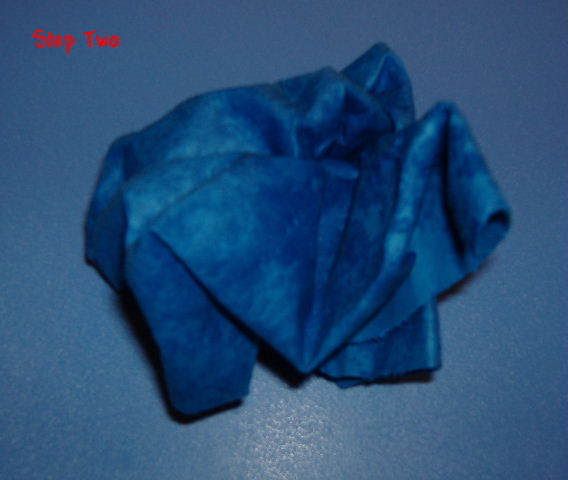
Step Two


Gently crunch cardstock into a ball. Unfold carefully and repeat crunching process several times. Avoid tearing your cardstock as you work.


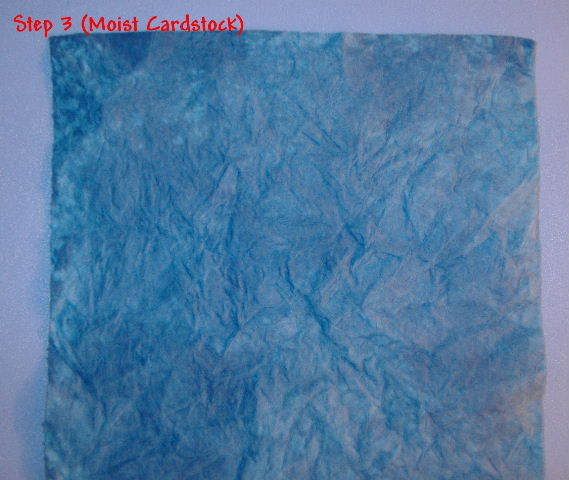
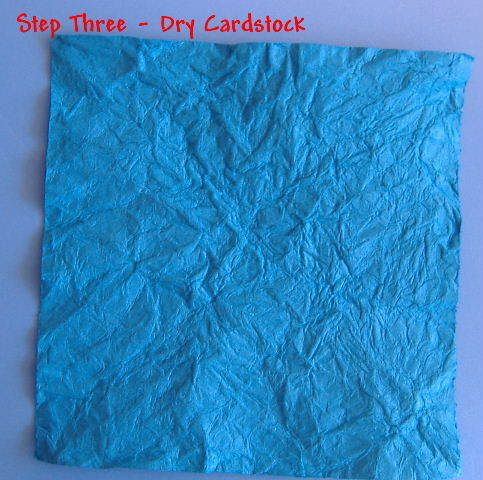
Step Three


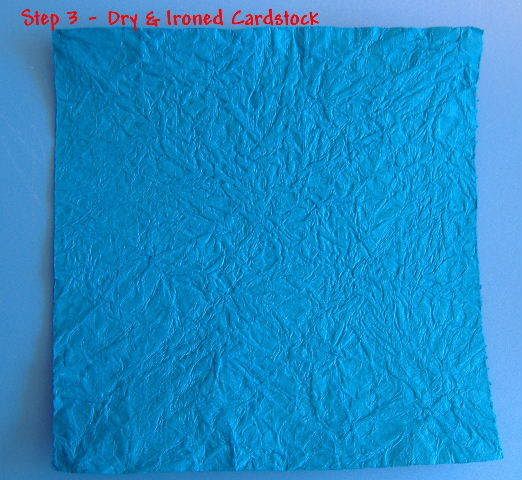
After you have reached the desired texture, flatten paper down with rolling pin (or hands) and allow to dry. I allowed mine to dry overnight.


<----FINISHED CARDSTOCK FLATTENED, STILL MOIST


<------FINISHED CARDSTOCK DRY


One Step Further:


If you're in a hurry or you want a slightly different look, you can lightly iron the paper. The texture will remain. Additionally, you can also use your cats eye fluid chalks across the ridges in your paper leather just before ironing it.